Newbie Explorer Manual
This page is OUTDATED!!!
You can still find some useful information here, however most of it is outdated.
I hope that i can find some time to update it.
So, You want to be Explorer?
Our Galaxy is a big place and full of wonders. Terraformable planets, Black Holes, Neutron Stars, Nebulaes and many more sitting out there and waiting to be visited and discovered by someone like you.
If you are filling adventurous - prepare your ship and go!
But be prepared for a long and lonely journey as the path of the explorer is a lonely one. There are many dangers out in the Void and no one to help you when disaster strikes (except Fuel Rats if you run out of fuel).
Ship Builds
You can explore in any kind of ship, however there are some ships which are better suited for such tasks when equipped right. The main concern when equipping a ship for exploration is the jump range. You need to make your ship as light as possible in order to achieve maximum jump range. You will need big range in some places when you want to cross a big region full of non-scoopable stars. Also some stars can only be reached with a bigger jump range (I have discovered one such star which i cannot visit with my Hauler so i am going back there someday with a bigger and better ship in order to explore it).
The ship builds i am going to provide you with are Hauler, Type-6, Diamonback Explorer (DBE) and Asp Explorer. From the less expensive to the most expensive builds.
Hauler
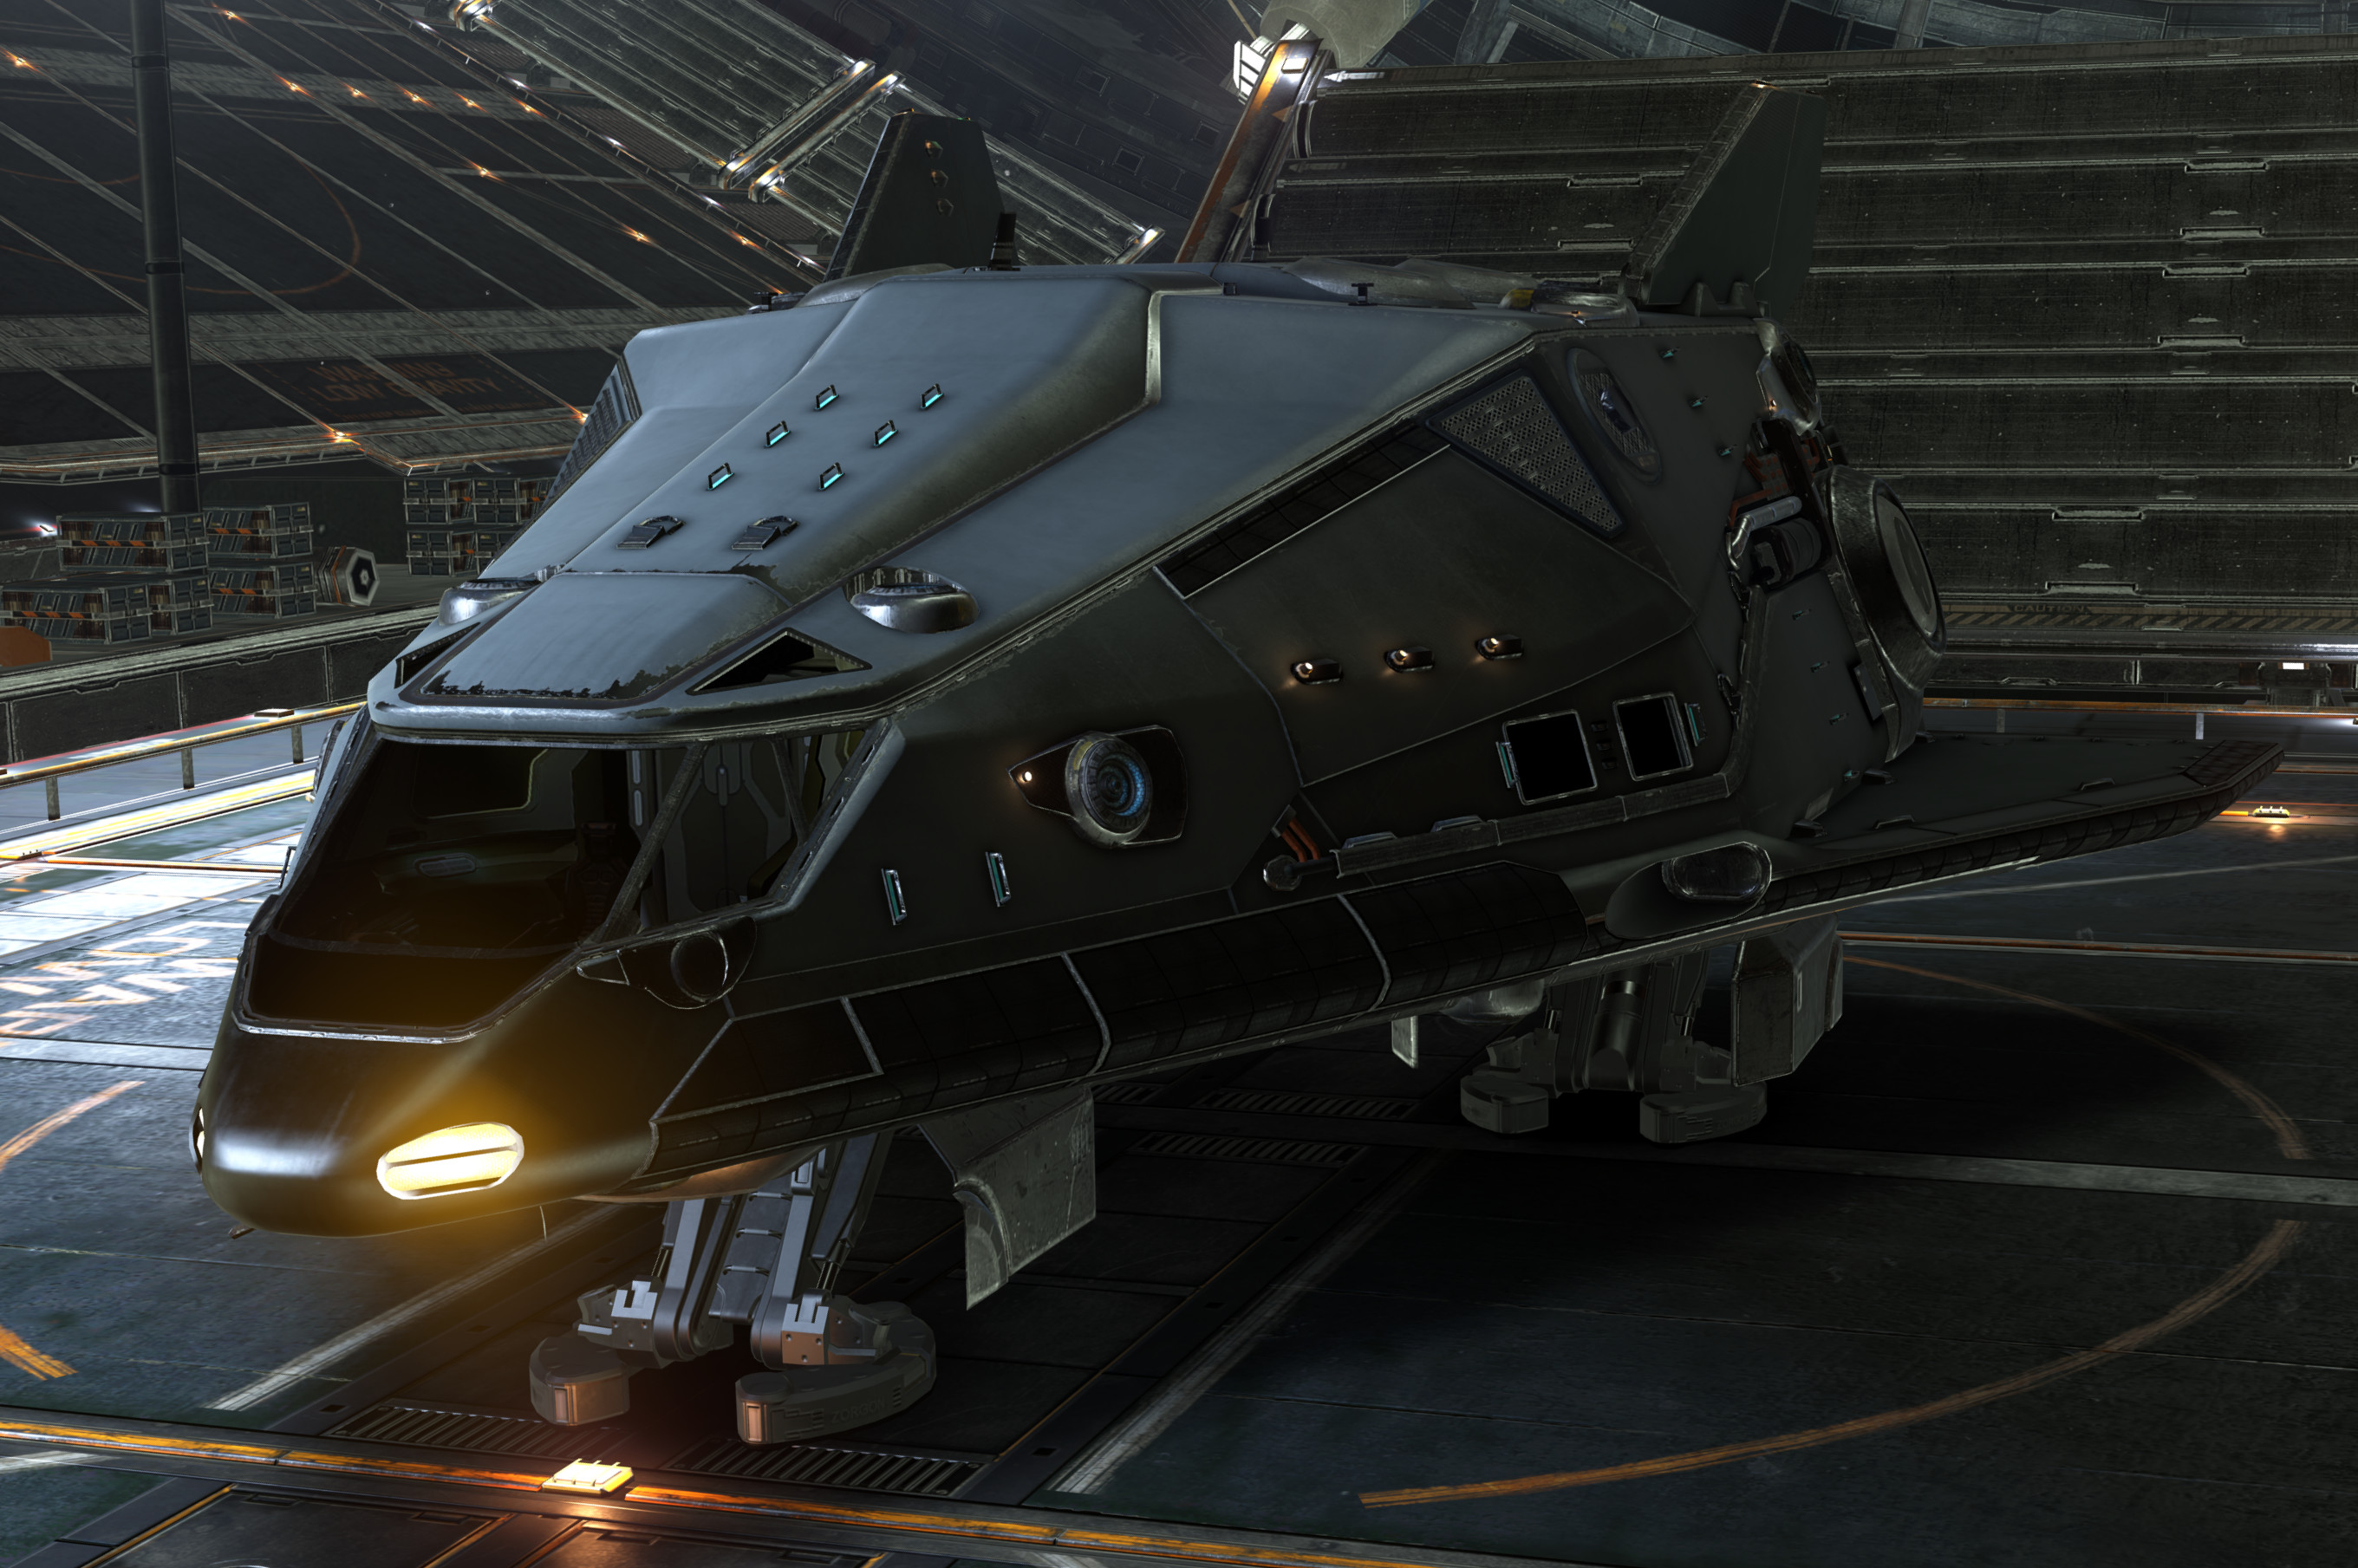
Hauler Explorer - Cost: 2,224,650 CR
Jump Range (max): 26.07 LY
Jump Range (full tank): 29.08 LY
If you are just starting the game and do not have enough money to get yourself a good large ship - consider the Hauler for starting ship for exploration. It's small, it's cheap and it has a good jumping range. If you remove the shields and the heat sink you can achieve 28.24 LY with full tank and 31.81 LY max jump range which is pretty good. More on shields and other equipment later.
The fuel scoop is lower grade in order to save some bucks.
The only disadvantage which i found on this ship is the limited view from the canopy.
Type-6
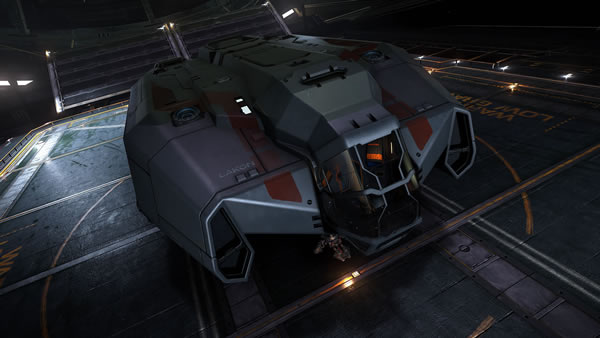
Type-6 Explorer - Cost: 5,115,730 CR
Jump Range (max): 31.66 LY
Jump Range (full tank): 29.56 LY
The Type-6 have a significantly better jumping range and a better canopy view. It's a little more expensive but it has free space for AFMU units if you have enough credits.
The disadvantage is that it is bulky, slow and gathering heat, so you need to be extra careful during scooping.
Diamondback Explorer
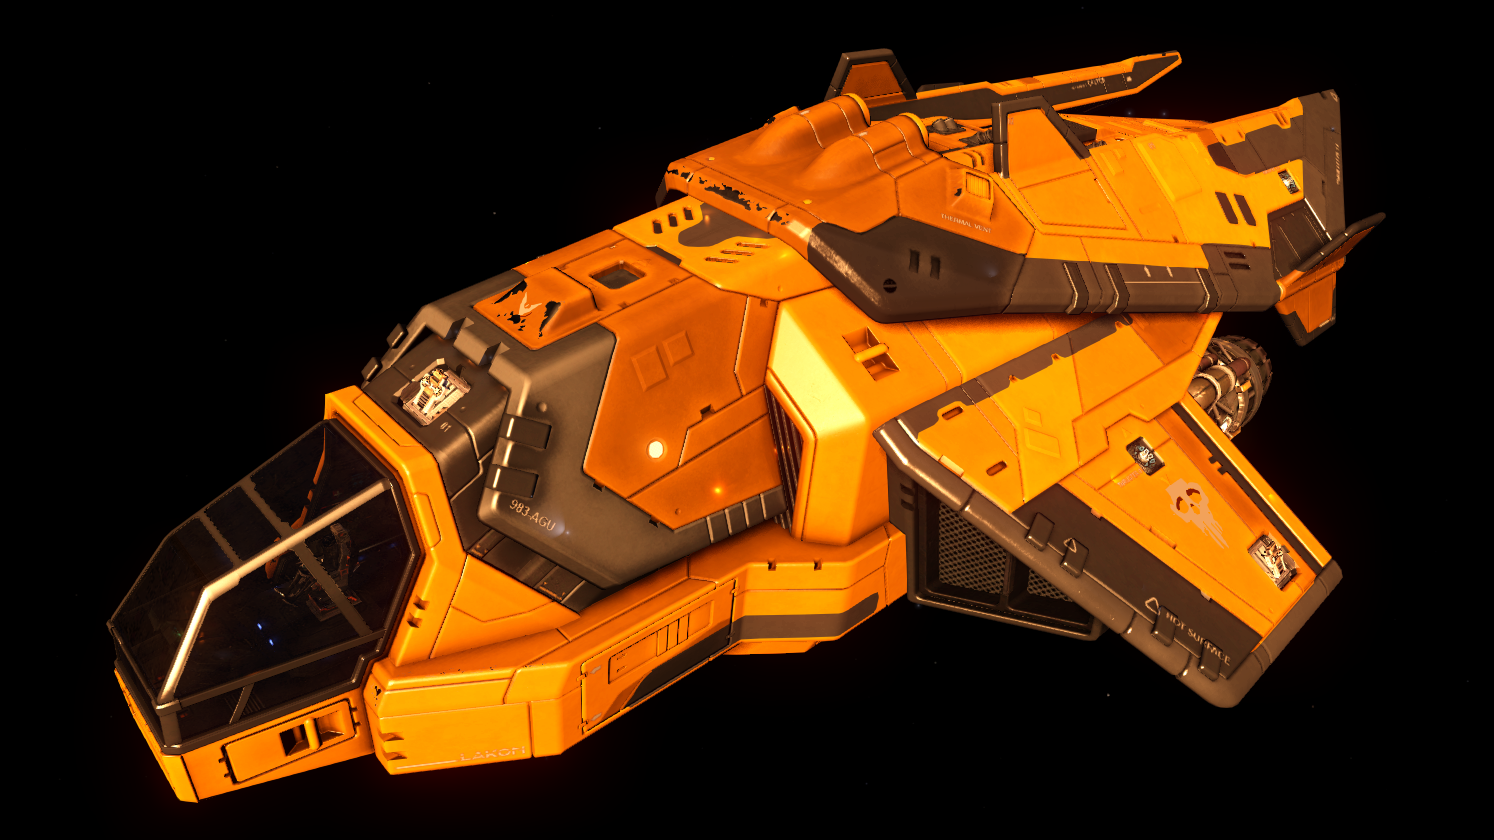
Diamondback Explorer - Cost: 13,341,950 CR
Jump Range (max): 36.13 LY
Jump Range (full tank): 33.48 LY
The DBE is the small brother of the Asp Explorer. It's smaller in size but have a very good jumping range and a good view from the canopy.
Asp Explorer
Asp Explorer - Cost: 31,416,900 CR
Jump Range (max): 37.09 LY
Jump Range (full tank): 34.30 LY
If you have enough cash and want to go out in the void - this is the ship you want. It has outstanding jumping range (only beaten by the Anaconda), and a very good view from the canopy, which for me is essential for exploring.
The Asp Explorer is build to last and will get you to the fringes of the galaxy and back safely.
Ship Retrofitting
There are few things to consider when you decide how to retrofit your ship. The first thing is the mass of the equipment. More mass means less jump range. This is the reason why most of the modules on the explorers ships are class D. Except the FSD Drive and/or the Power Plant.
You want a class A rated FSD Drive for maximum jump range and Class A rated Power Plant for better heat management. You should use lower grade but higher class Power Plant (3A for example), this way you will have enough power and better heat management which for me is essential.
The other two main considerations are weapons and shields.
Weapons - You don't need weapons out there. This is why they are no weapons fitted on the ships listed above. Most of the time you will be alone in some distant system where there are no enemies and if you are worrying about your ship when you are coming back - your ship integrity will probably be 0% on your way back so you do not want to battle with this ship. You want to be fast and to be able to escape. This is why you don't need weapons.
Shields - If you drop them you will gain some jump range advantage. However you will be more vulnerable if someone manages to interdict you on your way back (especially with your ship integrity at 0%). Also it is very good to have shields when you are dropping inside rings and asteroid belts during your journey. The shields can save your life if you hit an asteroid by mistake.
Heat Sink - You may never use it but you should have at least one. Many fellow explorers have reported jumping into a close binary systems which have automatically dropped them out of Super Cruise with a very high ship temperature and taking heat damage. Such encounters can damage your ship internal modules and crack your canopy. This is the reason why you should always have at least one heat sink launcher fitted and ready to use.
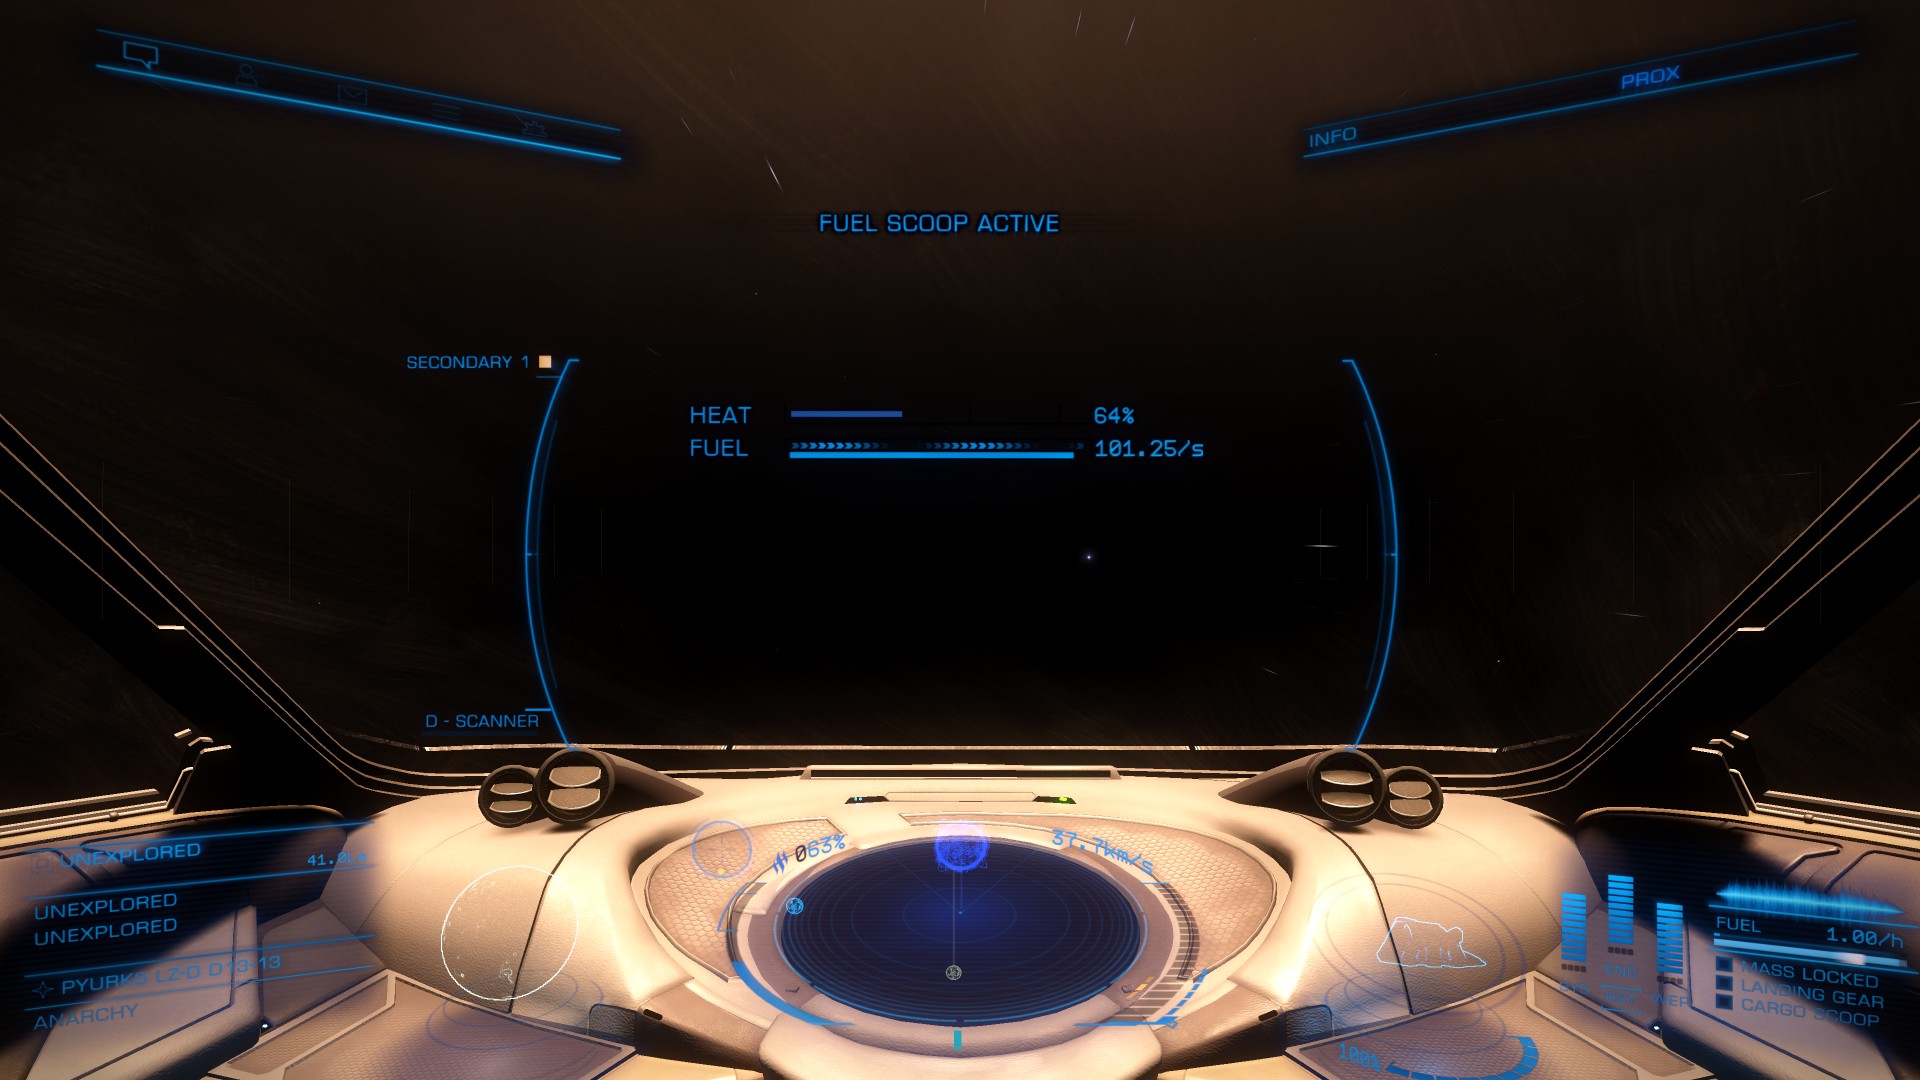
Fuel scooping
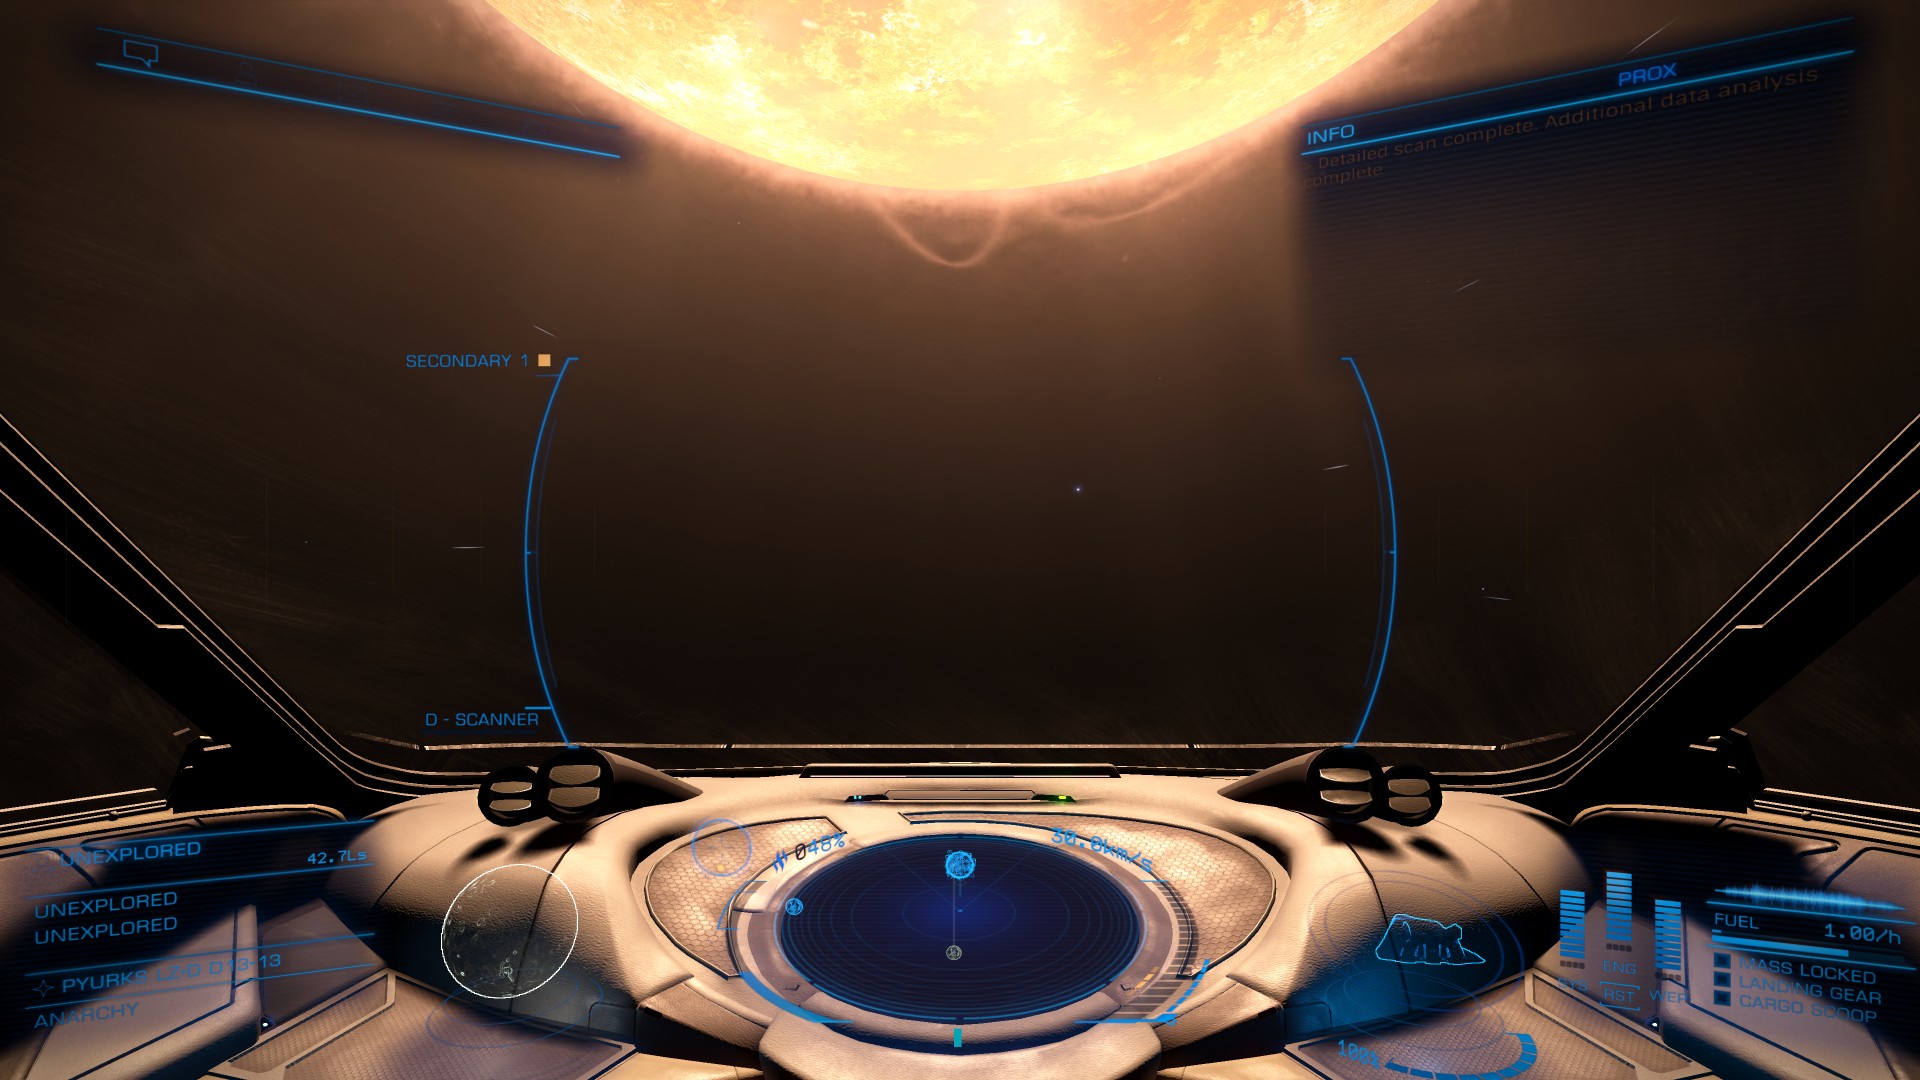
When you are scooping - line up the star horizon to be above you and between the informational panels in your visor then approach. Once the heat start reaching 60% throttle down and you may need to adjust the ship nose down a little to point away from the horizon or the star in order to keep the heat below 70%.
Once your fuel tank is full, get away from the star and disengage.
The above method is works perfectly if you are in a small ship with D rated Power Plant like the Hauler, due to the fact that the power plant will not spread the heat properly as an A rate one will do.
If your ship is bigger and you have A rated Power Plant fitted you will not have this heat issue and you will be able to be even closer in the star's corona reaching the limit of your Fuel Scoop.
The other way of scooping when you are in a bigger ship is to circle around the star by keeping your scoop rate at maximum and your heat below 70%.
Just watch out not to cross the thin line and plunge into the star. Your FSD will malfunction, your heat will raise and you will take some damage and probably loose some of your hull integrity. Also escaping from such encounters afterwards is dangerous.
Power and heat management
You should power off all non-critical modules, eg. - Cargo Hatch, AFMU, Shield Generator (if you carry), Power Distributor, any additional Heat Sink launchers (you only need one active).
This will lower your power consumption and heat signature. It will also give you few more seconds if you drop too close to a star and starting taking heat damage and will allow you to scoop closer to the star (more fuel, faster tank fill), without raising the temperature too much.
Just remember to power on your shields and distributor when you are approaching a planet you wish to land.
Route planning and fuel management
When planning your route always set waypoints. Write them down and go towards them until you reach them. Then set another waypoint and repeat until you reach your destination.
Once your route is planned - review it. See how many jumps you will made before run out of fuel, then check the type of the stars in the systems you are going to jump and plan on which one you are going to refuel (for list of the scoopable stars see further below). Also note that if you are exploring few larger systems in a row, your fuel may run out before the previously designated system in the Galaxy map. Always watch your fuel tank and scoop often.
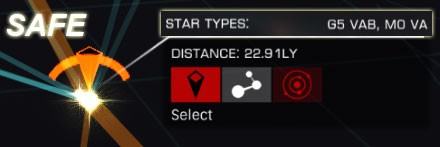
Always check your next system in the Galaxy map if it has more than one star in it. This can be done by selecting the next system from your Navigation panel and then open the Galaxy map. It will be centered on the next system and if you zoom in you will see the stars in the system. If all the stars are visible and have some distance between them you are safe to jump.
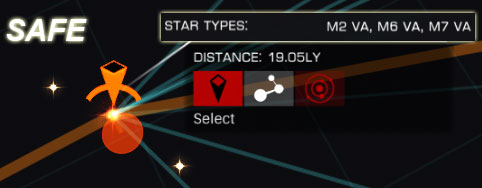
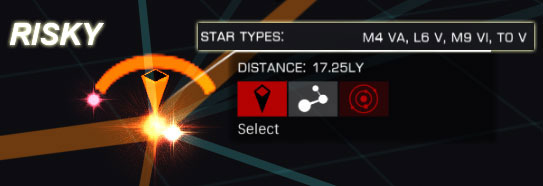
If some of the stars are not visible or extremely close to the main star - then you need to decide if you want to jump there as the main star maybe a close binary system and you can end up exiting hyperspace between the two stars or very close or inside the second one. The later means instant death.
Calculating distances
1 AU = 500 LS
0.1 LY = 300 000 LS
0.10 LY = 3 000 000 LS
1 LY = 30 000 000 LS
Working with coordinates on the Galactic Map
The formula for finding the distance on the Galactic Map is: SQRT(Xdiff^2 + Ydiff^2 + Zdiff^2)
The formula was provided by AnnuverScotinExile on the Frontier Forums.
You can also use the following tool which i wrote - Galaxy Map Distance Calculator.
Example:
Current position: 123, -10, -98
Target position: 61, 17, 33
Result: SQRT((123-61)^2 + (-10-17)^2 + (-98-33)^2) = 147
The distance from current position to the target is 147 LY.
The Galactic map uses some rounding so the result may differ within +/-10 LY.
Stellar classification
Main Sequence:
Class O: O-type main-sequence star, giants and supergiants.
Class B: B-type main-sequence star, giants and supergiants.
Class A: A-type main-sequence star, giants and supergiants.
Class F: F-type main-sequence star, giants and supergiants.
Class G: G-type main-sequence star, giants and supergiants.
Class K: K-type main-sequence star, giants and supergiants.
Class M: Red dwarf, giants and supergiants.
An easy way to remember the main sequence stars is the following sentence: "O Be A Fine Girl Kiss Me".
Please note that the above are also the only stars from which you can scoop fuel during your journey.
Extended:
Class W: Wolf–Rayet
Class L: Brown dwarf
Class T: Methane brown dwarf
Class Y: Sub-brown dwarf
Class C: Carbon star
Class S: S-type star
Class MS and MC: intermediary carbon-related classes
Class D: White dwarf
Temperature sequence:
From 0 to 9 as 0 being the hottest and 9 being the coolest.
The other thing that i have noticed is that the 0 stars are usually bigger in size than the 9 rated stars. This comes especially handy when you are deciding if you are going to jump in a system which is suspected close binary. If both are M9 stars - nothing to worry about.
Luminosity sequence:
Ia+ (hypergiants or extremely luminous supergiants).
Example: Cygnus OB2#12 (B3-4Ia+)
Ia (luminous supergiants).
Example: Eta Canis Majoris (B5Ia)
Iab (intermediate luminous supergiants).
Example: Gamma Cygni (F8Iab)
Ib (less luminous supergiants).
Example: Zeta Persei (B1Ib)
II bright giants.
Example: Beta Leporis (G0II)
III normal giants.
Example: Arcturus (K0III)
IV subgiants.
Example: Gamma Cassiopeiae (B0.5IVpe)
V main-sequence stars (dwarfs).
Example: Achenar (B6Vep)
sd (prefix) subdwarfs.
Example: HD 149382 (sdB5)
D (prefix) white dwarfs.
Example: van Maanen 2 (DZ8)
Example from Galaxy Map:
A "M3 V" star is Class M (Red Dwarf) hot star (3) from the main sequence (V).
For more information regarding classification you can read the article in Wikipedia - Stellar Classification
I hope that the information was useful to you.
Fly safe Commanders!